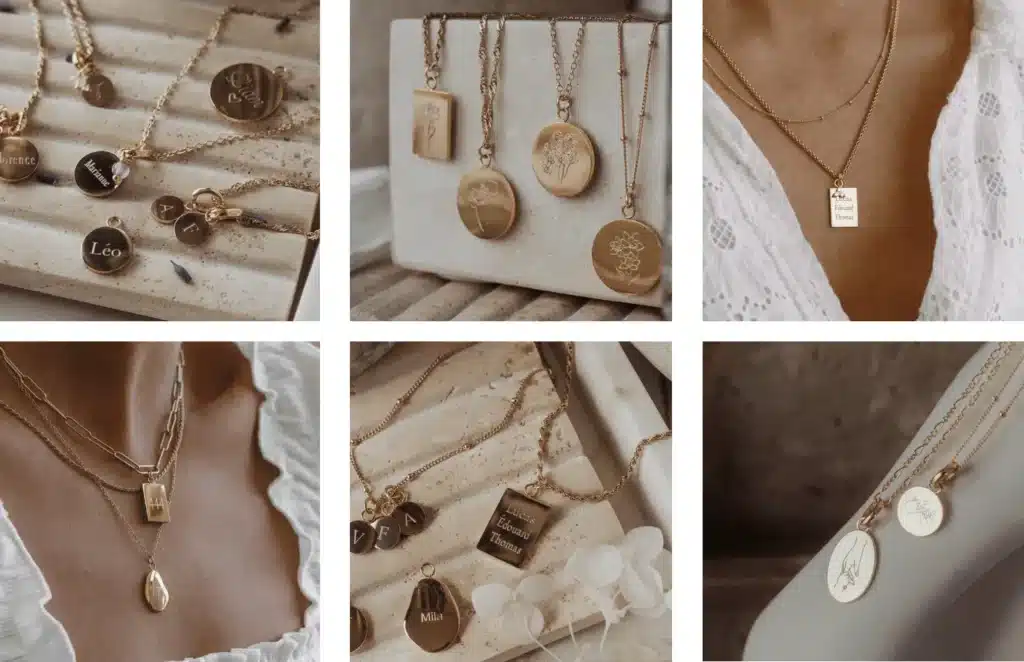
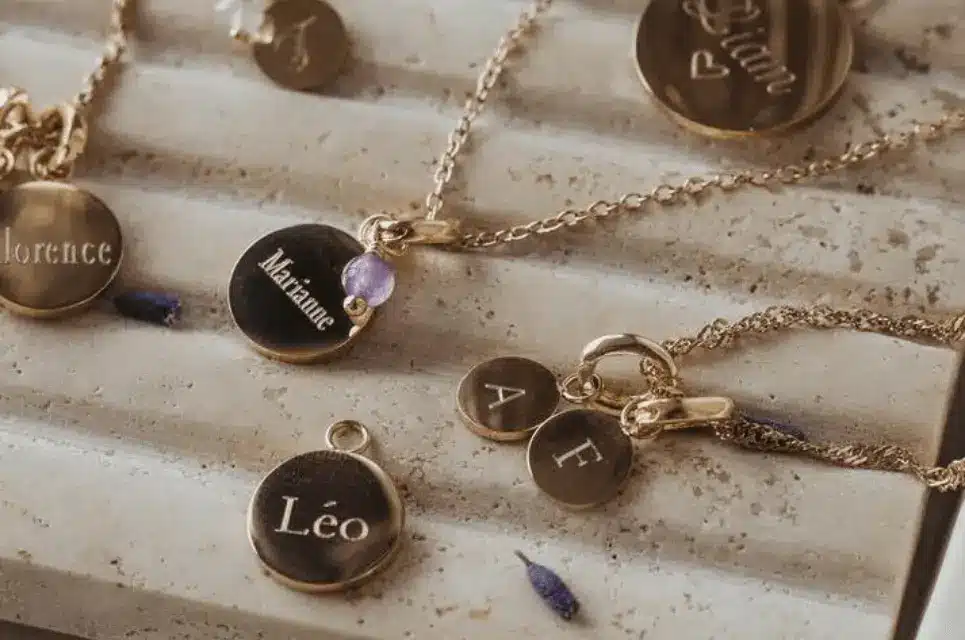
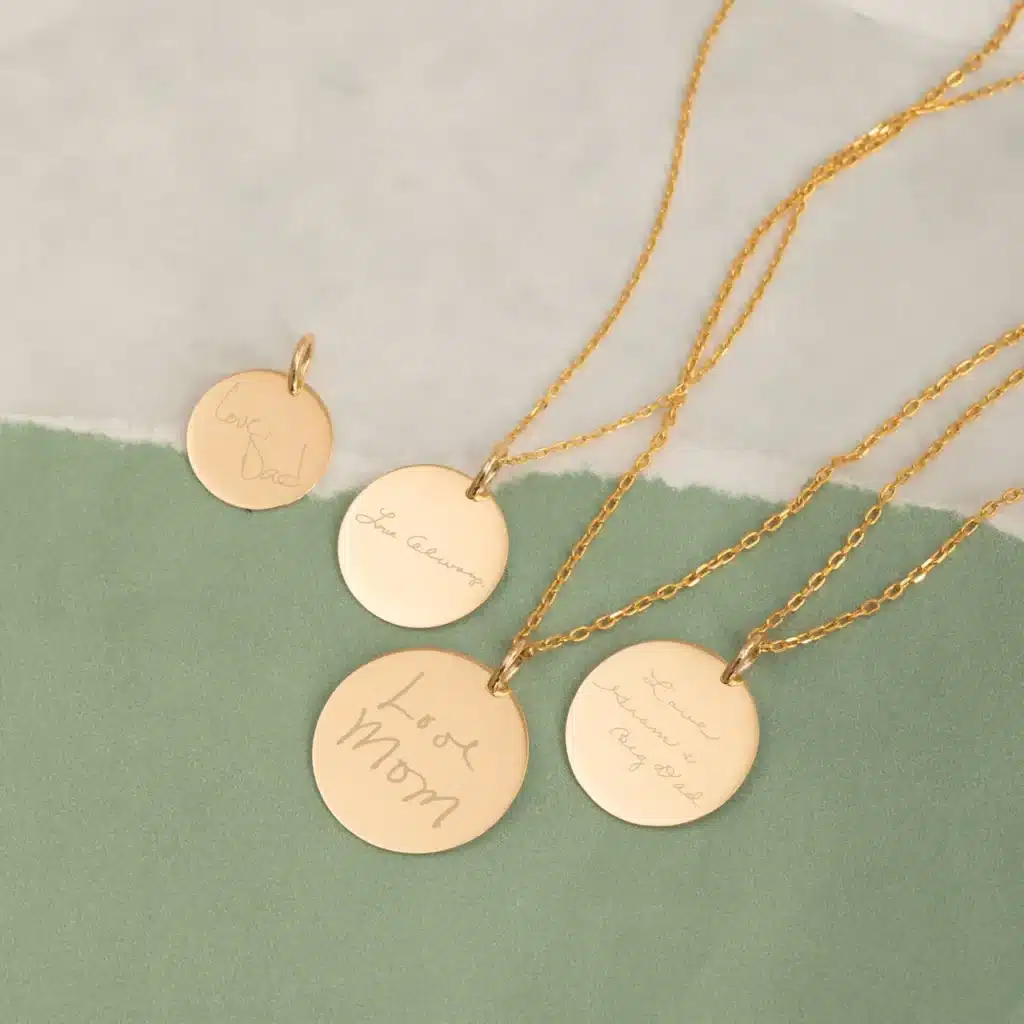
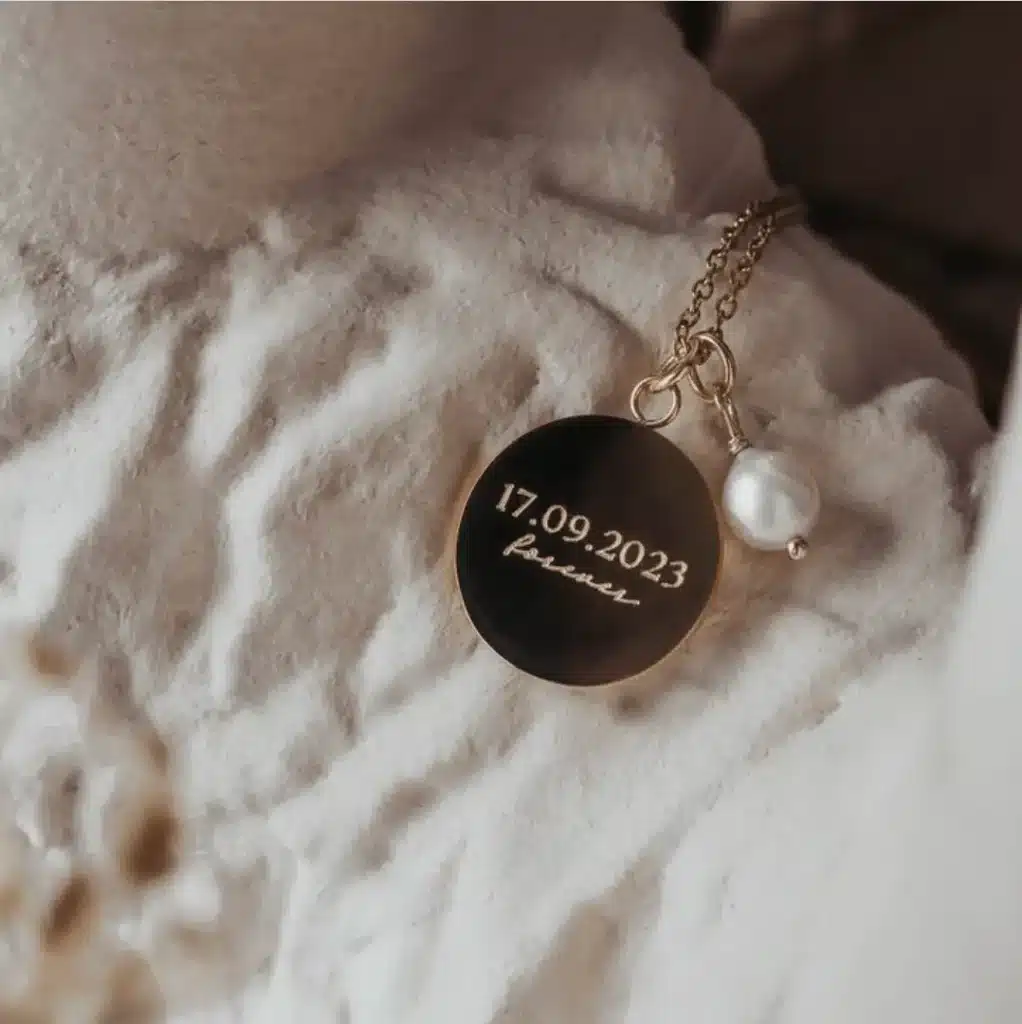
A client approached us looking for a reliable private label jewelry manufacturer that can tackle their project. They plan to make four pendants, one engraved with their brand logo and three pieces with initial letters, names, and flower engravings.
After the initial discussions, they sent us the original pendant sample so our team could study the concern. They also informed us of what they need: pendants with high-quality and lasting engraved logos.
Client Background
This French client has been in the jewelry business for some time and has a unique design aesthetic tied to their branding. Constantly following current market trends, they saw the rise in customers looking for exquisite and custom pendants that convey the wearer’s personality.
Wanting to capitalize on the trend and expand their business, they want to offer their line of personalized jewelry pieces as well. However, they were experiencing some challenges with their logo engraving, resulting in prints that easily fade and wear out.
Popular Ways to Customize Logos on Your Jewelry
While further discussing the details with the customer, we informed them of 2 different approaches to achieve the desired engraved pattern effect.
1. Embedding the logo directly into the mold design
The first option presented is adding the logo on the actual mold. In the mold design process, we create a mold out of a heat-resistant material like plaster and ceramic. We can embed the logo while making the mold, ensuring that the design is imprinted once we pour the molten metal into the cavity.
Pros:
Accurate positioning – since the logo is embedded in the mold, the final output will have consistent results.
Deeper grooves – aside from consistency, the logo will also achieve deeper grooves, making it clearer and more appealing to the wearer.
Cons:
Less room for customization – as the mold is fixed, there’s little wiggle room if the customer wants to make changes to the logo.
More expensive mold fee – each mold pattern requires a separate mold, leading to higher production costs if the customer wants multiple patterns on each batch.
2. Laser engraving
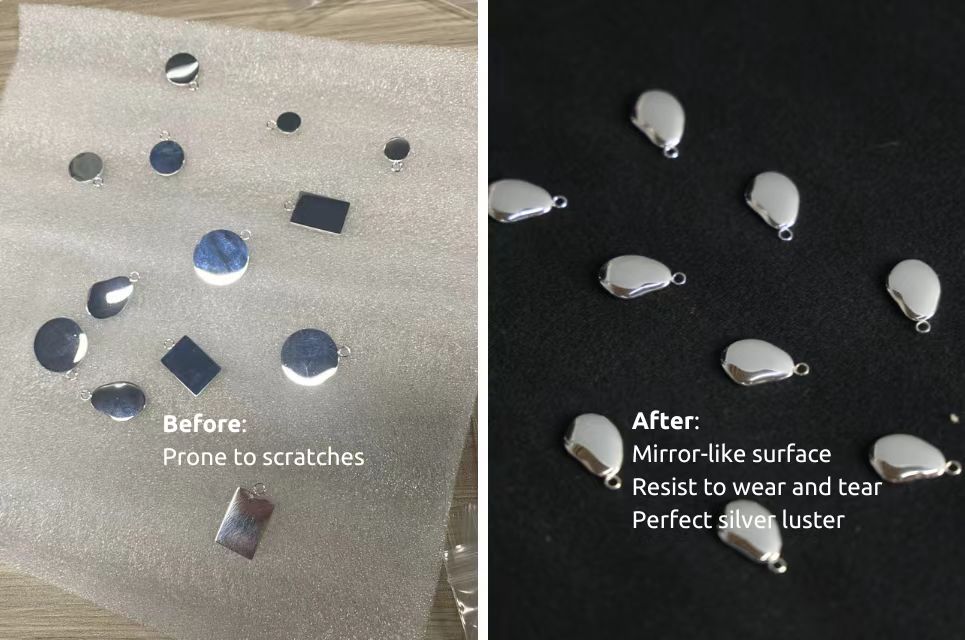
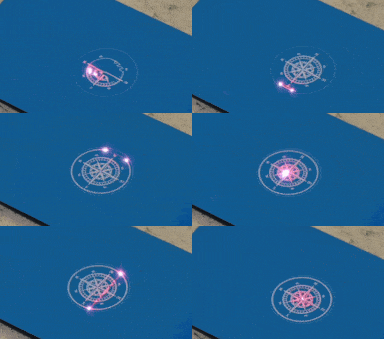
Laser engraving is the second option we presented to the customer. A common method used in creating custom jewelry, we use high-powered lasers to etch the predetermined logo on the pendant piece. The pendant is then wiped clean with a wet cloth and can be coated via PVD to protect the design from wear.
Pros:
Cost-effective – since no additional molding is required, creating multiple patterns on each batch of pendants is more affordable.
Fast and easy to replicate – the combination of automated tools and highly-calibrated laser engraving equipment guarantees fast and consistent results.
Cons:
Shallow prints – as the prints are etched over the piece rather than molded with it, the logo may come out as shallow and not as robust as the first option.
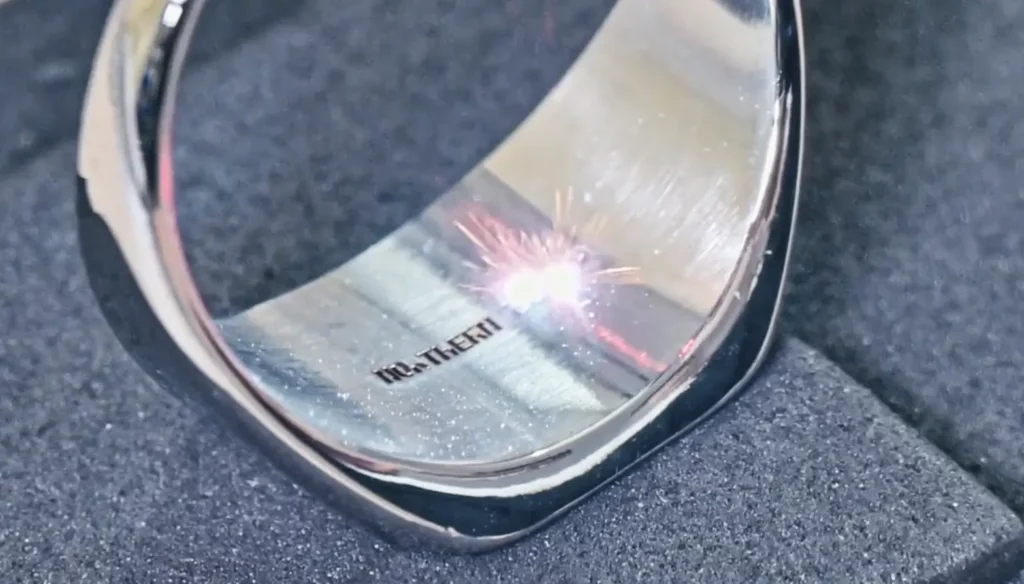
Initially, the customer was unaware that there were two ways to solve the issue. Upon looking at the potential results and budget availability, they went with laser engraving for the project.
Keys to Quality Laser Engraved Logos & Patterns
Once we got the customer’s approval, we started working on their request right away. As one of the leading private label jewelry manufacturers, we’re experts at using technology to create bespoke jewelry pieces.
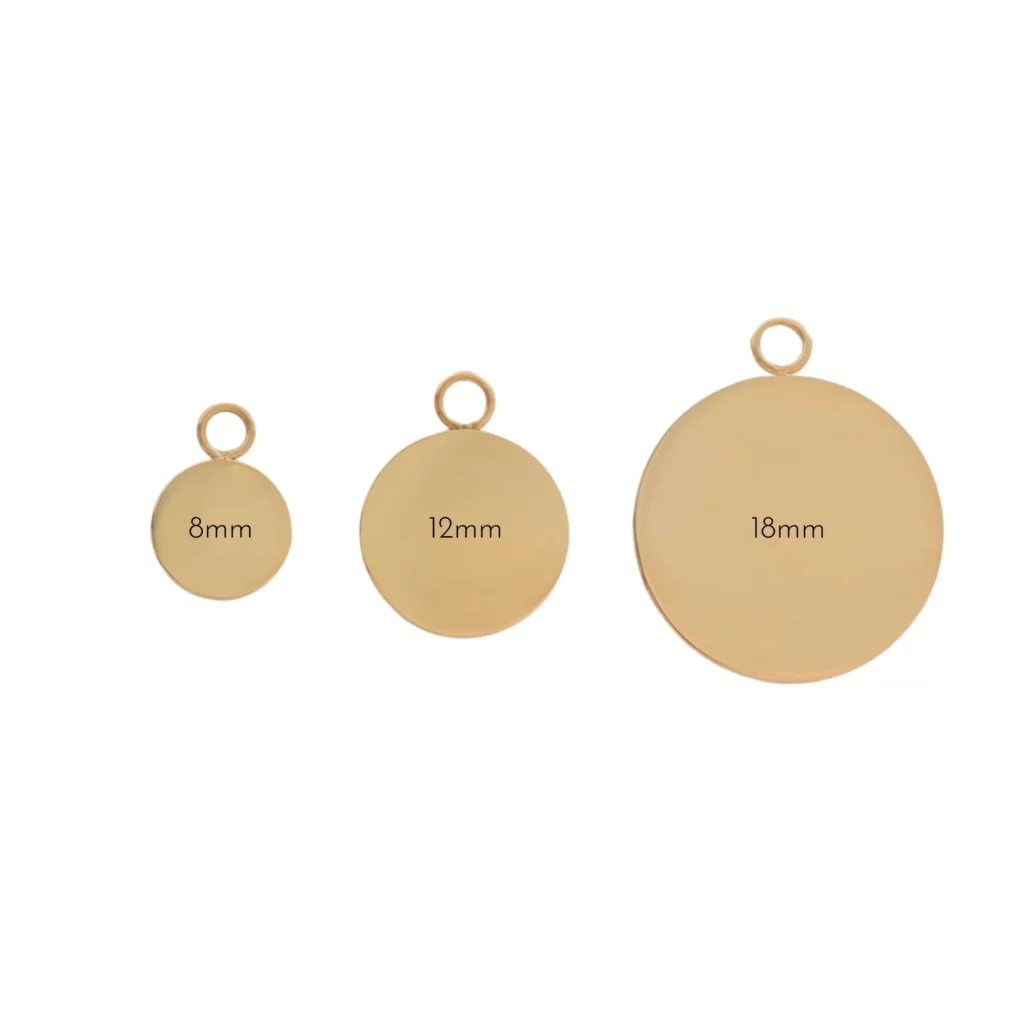
The main points our team must remember are that we are working on 4 pendant shapes and more than 20 engraved patterns. Paying attention to the quantity and matching the shape of pendants and patterns will be paramount to the success of this project.
Some tips when working on laser engraving on pendants:
1. Always start with a high-quality image
Remember that the image you’ll use will be the basis of the laser engraving; the better the image quality, the better the final output will be. Plus, images with greater detail look better on the final product.
If working with a client like us, we recommend requesting for high-resolution images, especially if the project requires high levels of detail. Experts agree that images should have at least 300DPI and large image dimensions for best results.
Additionally, avoid making changes once you have the final logo or design. Any minuscule changes may dramatically affect the final output.
2. Optimize the software settings
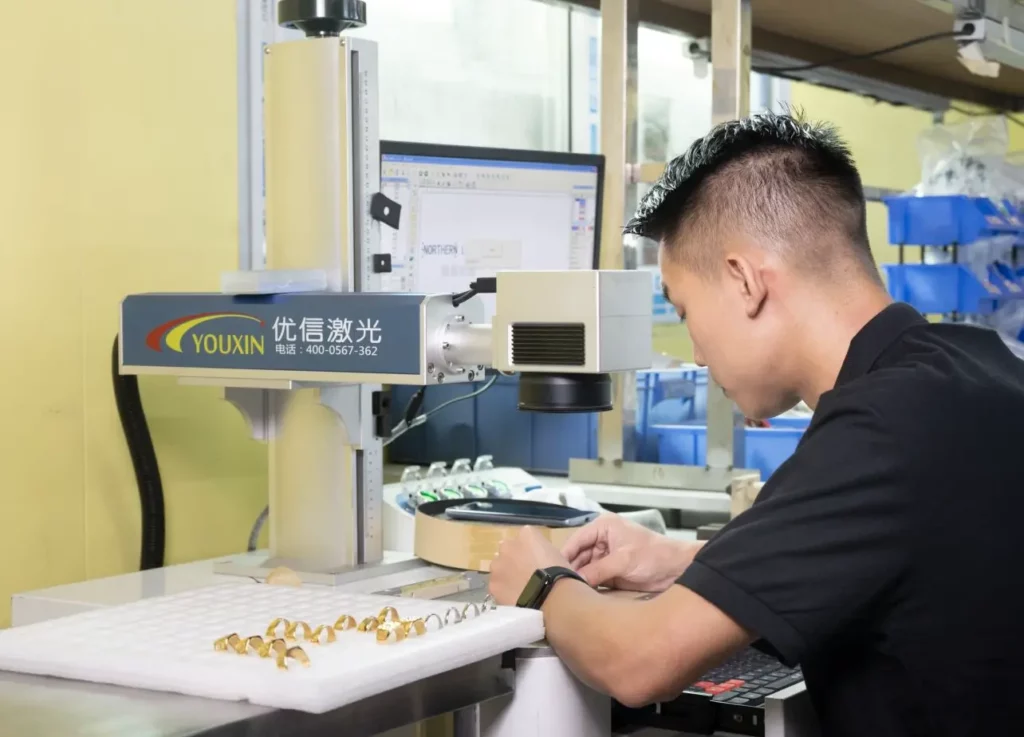
Another factor to consider before you begin engraving the image is adjusting the software to match the image and material. While it may take some time to get the right settings, fixing this beforehand gives better results and reduces delays caused by regular adjustments. Some points to look at are power output, speed, and resolution.
3. Calibrate the laser engraver based on the material and design
Ensuring your engraver’s functionality will guarantee consistent and accurate results. Make sure that the laser is properly calibrated by adjusting its power and focus settings depending on the task. Also, take time to clean the laser head to avoid discrepancies with the final output.
4. Run a test on a spare material
After checking all the settings and securing a high-resolution image, try engraving on a spare piece first before proceeding with full-scale printing. This lets you recalibrate if the results don’t match the standards or want a better output. Once the results meet expectations, you’re all set for success.
Proven Success
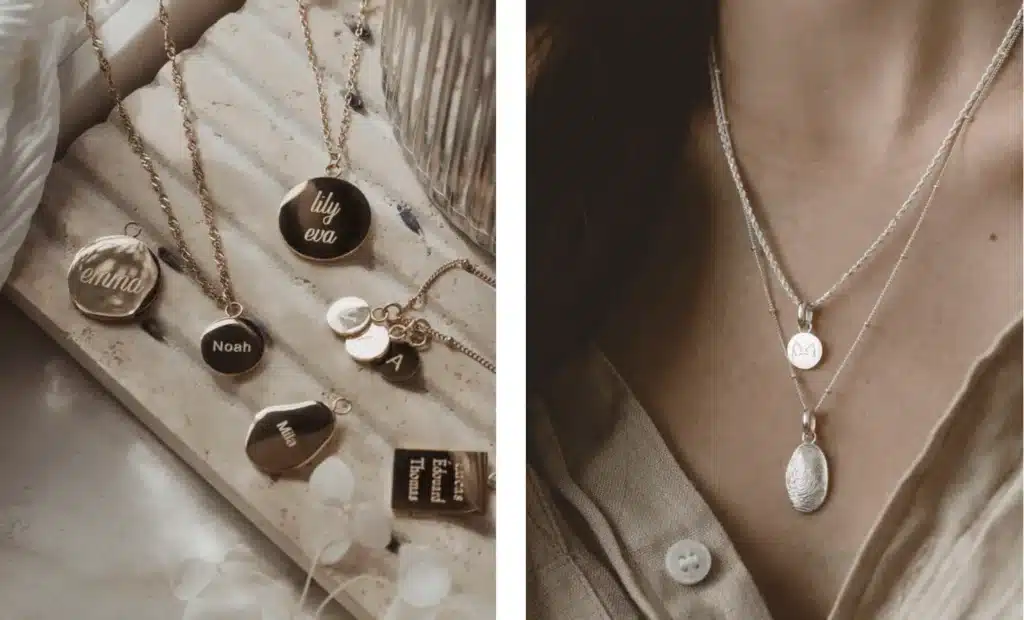
Thanks to our expertise in laser engraving and robust experience as a private label jewelry manufacturer, we were able to complete the project within the scheduled timeframe. We then presented the engraved pendants to the customer, who was delighted with how the pieces looked and felt.
Satisfied with the jewelry pieces, they then posted them on Instagram and added them to their online store. After some time, the customer reported that they gained 4 times more likes on Instagram because of the engraved pendants!
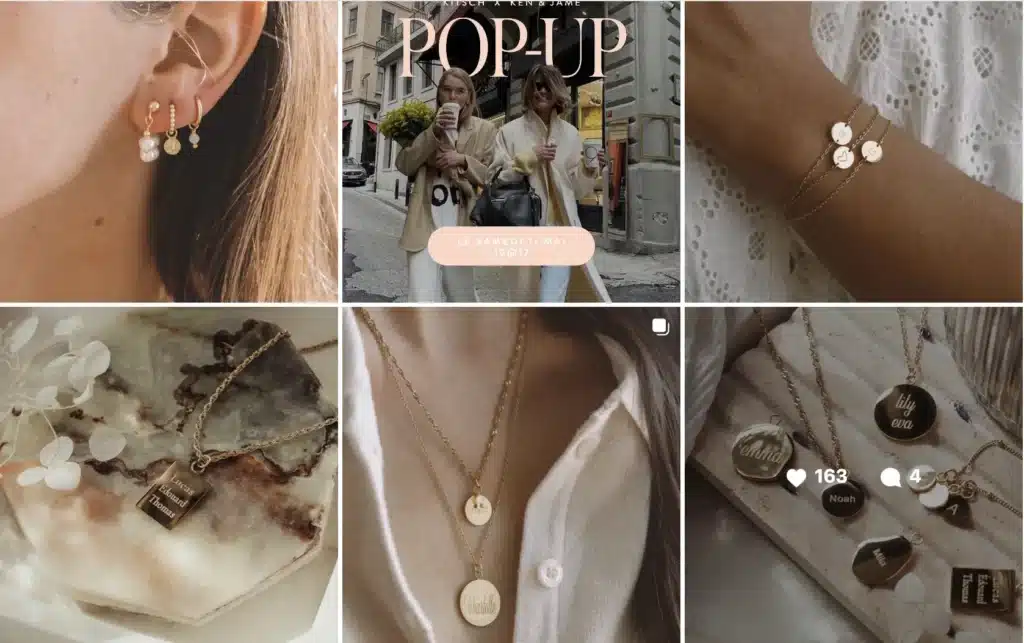
The jewelry line also boasted outstanding sales performance, showing how their audience adores the pieces we’ve made.
